
Modern displays have evolved significantly, offering high refresh rates, wide color gamuts, and ultra-high resolutions. Yet, many users still encounter frustrating issues related to screen resolution—missing native resolutions, locked refresh rates, or unsupported aspect ratios. These problems often leave users relying on basic settings offered by operating systems or GPU drivers, which don’t always solve the issue.
In situations like this, tools like Custom Resolution Utility (CRU) become indispensable. CRU isn’t just another software add-on; it offers deep-level control over your display’s capabilities, allowing users to fix resolution problems that would otherwise be unsolvable through standard interfaces.
Understanding What CRU Actually Does
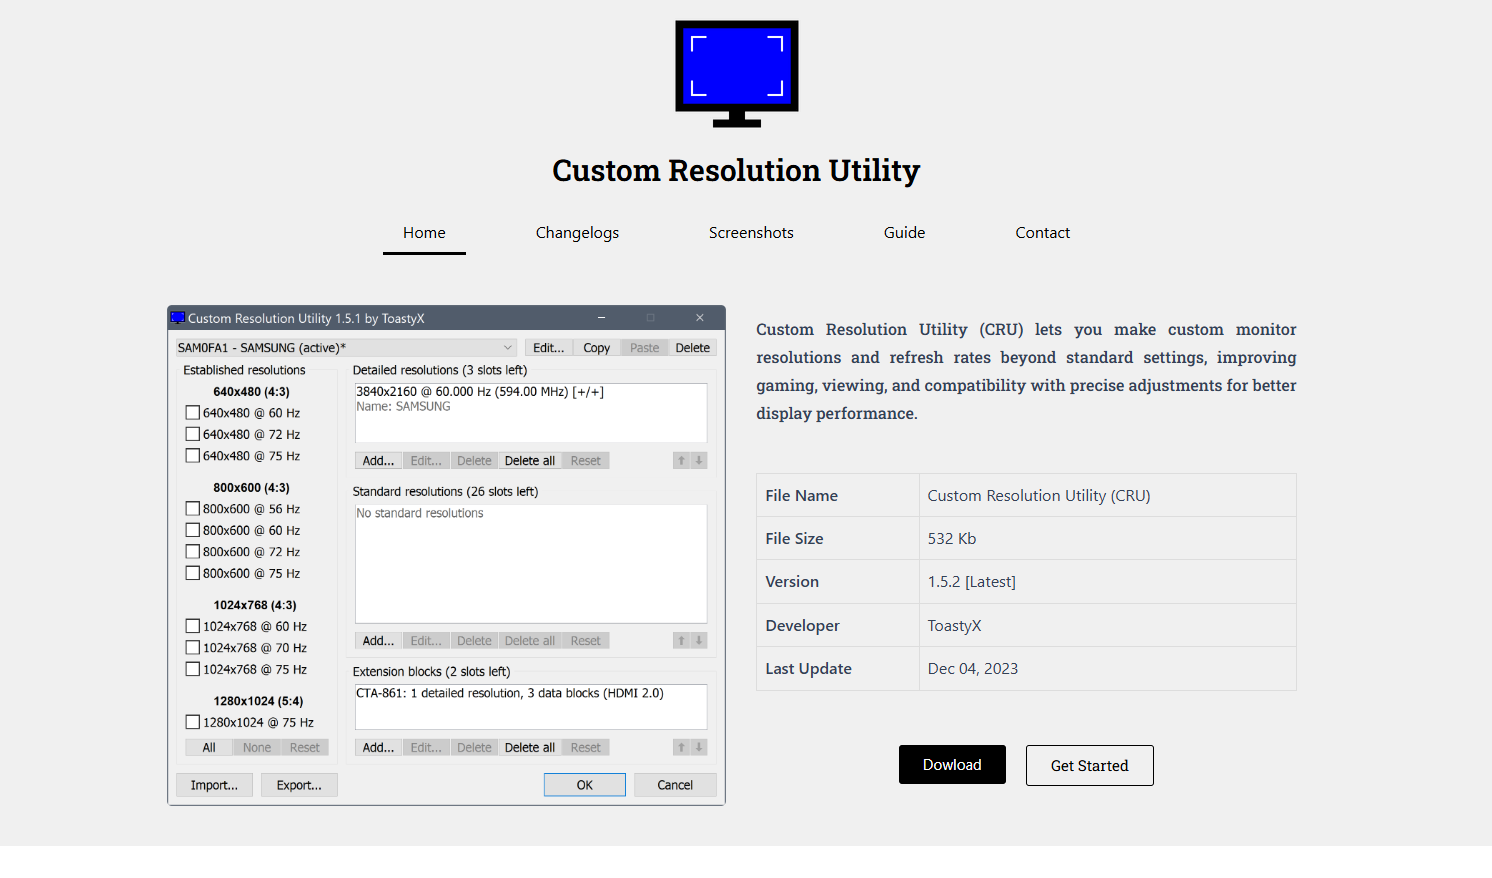
Custom Resolution Utility, developed by ToastyX, is a lightweight but powerful tool that allows users to define and edit EDID (Extended Display Identification Data) for their monitors. EDID is essentially a chunk of data that a monitor sends to the graphics card, outlining supported resolutions, refresh rates, and features.
CRU gives you access to these definitions and lets you modify or add custom resolutions, adjust refresh rates, remove unnecessary modes, and even troubleshoot compatibility issues between your display and GPU.
Common Resolution Problems Solved by CRU
Missing Native Resolution
Sometimes a monitor’s native resolution doesn’t show up in Windows display settings. This often happens with older displays, TVs used as monitors, or after a GPU driver update. CRU allows you to manually re-enter the correct resolution, making it available again without relying on potentially flawed automatic detection.
Incorrect Refresh Rates
A 144Hz monitor might get stuck at 60Hz if the EDID doesn’t reflect the higher refresh rate properly. CRU enables users to define the correct detailed resolution, ensuring the full refresh capability of the screen becomes usable.
Overscan and Underscan Fixes
When using a TV as a monitor, the image may appear zoomed in or out, cutting off edges or adding black bars. By customizing the resolution with proper timing parameters, users can eliminate overscan and underscan issues directly using CRU.
Resolution Lock on Laptops or External Monitors
Some laptops restrict resolution scaling on external monitors due to internal limitations or BIOS settings. CRU gives users a workaround by redefining the monitor’s EDID, effectively tricking the system into accepting new resolution parameters.
How CRU Works Behind the Scenes
CRU works by creating software-level overrides of your monitor’s EDID data. When you apply changes via CRU, they are stored in the Windows registry, which tells your GPU to prioritize these custom definitions over the default ones.
This means you’re not flashing your monitor or making permanent hardware changes. It’s a safe approach, yet incredibly powerful. Any resolutions or refresh rates added using CRU become available in display settings, graphics control panels, and games—just as if the monitor had advertised them natively.
Step-by-Step Guide to Using CRU
Download and Extract CRU
Visit the official CRU website and download the utility. Extract the ZIP archive into a dedicated folder.
Launch CRU
Run the CRU.exe file. The utility will automatically detect connected displays.
Add Custom Resolutions
Use the “Detailed resolutions” section to add custom resolutions. You can use standard timing formulas or input exact pixel values manually.
Remove Unwanted Modes
If the display advertises too many modes that cause clutter or conflict, remove unnecessary entries from “Standard resolutions” or “Established resolutions.”
Apply and Restart Graphics Driver
Use the “restart.exe” or “restart64.exe” file provided with CRU to refresh the graphics driver and apply changes.
Test in Display Settings
Open Windows Display Settings or your GPU control panel. The new resolutions and refresh rates should now appear.
Compatibility with GPUs and Operating Systems
CRU supports most modern AMD and NVIDIA graphics cards. Intel GPUs are partially supported, but results can vary depending on driver behavior. CRU works best on Windows 10 and Windows 11, although it remains compatible with older versions, such as Windows 7 and 8.
However, it’s essential to note that CRU is not a driver replacement. It modifies the way your system interprets display information—if your graphics driver is malfunctioning or outdated, you may still experience issues even with CRU applied.
Use Cases Where CRU Excels
Overclocking Monitors
Some users use CRU to push their monitors beyond factory refresh rates, such as overclocking a 60Hz panel to 75Hz or 90Hz. This isn’t guaranteed to work on all displays, but CRU gives enthusiasts the ability to try.
Ultrawide and Super Ultrawide Configurations
Custom resolutions for ultrawide displays that aren’t officially supported can be added using CRU, making games and media playback properly align with the screen’s real aspect ratio.
Fixing VR Headset Compatibility
Although not its primary function, CRU can be used in niche situations to address display issues related to virtual reality setups that rely on strict resolution and refresh timing.
Limitations and Precautions
While CRU is a powerful utility, it is not without limitations. Incorrectly entering timing parameters or incompatible refresh rates can cause your display to go black. This isn’t permanent, but it can be confusing if you’re unprepared.
To avoid problems:
- Always create a backup of your original configuration.
- Use the provided reset-all.exe to revert to defaults if needed.
- Test changes incrementally and keep a secondary display connected when experimenting, if possible.
Community and Support Resources
CRU is widely used in enthusiast communities such as Reddit’s r/Monitors or forums like Blur Busters and Overclock.net. These communities offer detailed tutorials, screenshots, and shared configuration files for various monitor models.
The developer of CRU, ToastyX, also maintains a dedicated FAQ and changelog, ensuring users have access to accurate information and updates.
When CRU Might Not Be the Right Tool
CRU excels at fixing display issues rooted in incorrect or incomplete EDID information. However, some problems are caused by faulty cables, damaged ports, outdated GPU drivers, or even defective monitors.
In such cases, no amount of tweaking with CRU will resolve the issue. It’s essential to rule out hardware faults and driver bugs before relying solely on EDID modifications.
Comparing CRU to GPU Control Panels
AMD’s Radeon Software and NVIDIA Control Panel also allow for some custom resolutions. However, these tools are limited in scope. For example:
- NVIDIA often restricts custom refresh rates based on monitor EDID.
- AMD provides fewer options for detailed timing input.
- Intel typically has even more limited custom resolution support.
CRU bypasses many of these restrictions, making it a more powerful and flexible option. It doesn’t replace GPU control panels but complements them.
Real-World Success Stories
Many users report fixing long-standing resolution problems after trying CRU. For example:
- A user unable to set 1080p on a 1440p monitor fixed the issue by manually setting the missing resolution.
- A gamer with a 144Hz monitor stuck at 60Hz unlocked full refresh by redefining detailed resolution.
- An HTPC user dealing with overscan issues on a 4K TV used CRU to dial in perfect pixel mapping.
These real-world examples showcase how CRU can be a game-changer for display customization and problem-solving.
Final Thoughts
Custom Resolution Utility stands as a vital tool for anyone experiencing monitor resolution problems that aren’t solvable through standard settings. Whether you’re a gamer trying to maximize refresh rate, a developer needing precise pixel control, or an average user frustrated by incorrect resolutions, CRU provides a reliable and powerful solution.
By enabling detailed customization of monitor EDID, CRU bridges the gap between user expectation and hardware capability. While it’s essential to use it with care, the benefits far outweigh the risks for most users.