
Problems with the foundation can be a homeowner’s worst fear. The good news is that many small foundation issues can be fixed with some work and knowledge. If you are dealing with cracks or slight sinking in your home’s foundation, addressing these problems early can save you money in the long run. This home improvements guide provides a simple, effective approach to tackling these issues yourself, step by step.
1. Identify the Problem
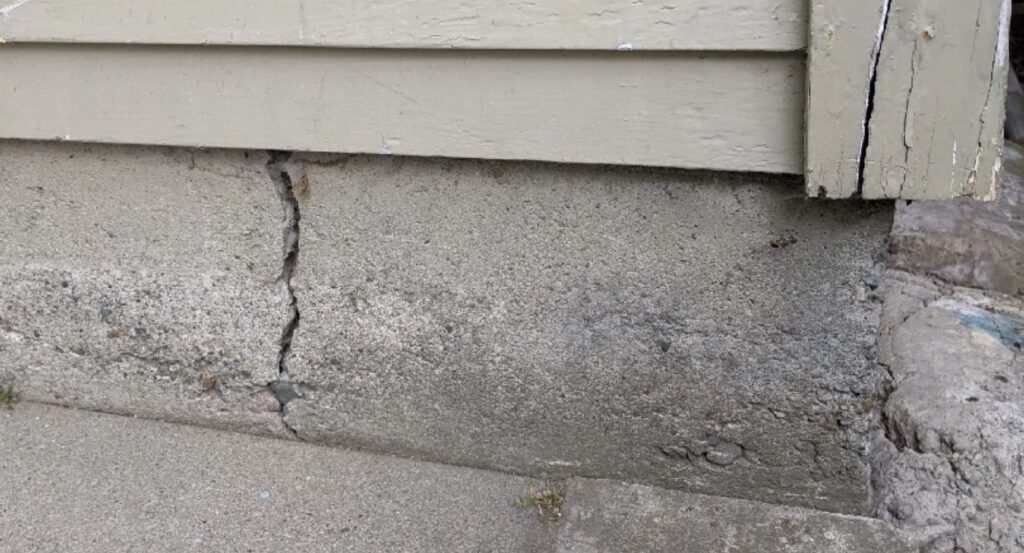
The first step in fixing foundation issues is identifying what kind of damage you are dealing with. Wall cracks, uneven floors, and holes around windows and doors are all common signs. Foundation cracks may be horizontal, vertical, or diagonal, each type indicating a different issue. It is essential to understand the severity of the problem before deciding to fix it yourself. If the damage seems extensive, calling a professional may be the best choice. However, for small, manageable cracks, you can follow this how to fix foundation problems yourself: step-by-step guide.
2. Gather Your Tools and Materials
Get all of the tools and materials you’ll need for the job together before you start. For minor cracks, you will need:
- Concrete patching compound or epoxy injection kits
- Caulk or polyurethane foam for small cracks
- A hammer and chisel
- Trowel for applying the patching compound
- A bucket of water and a sponge for cleaning
You can usually find these things at a hardware shop near you. To get long-lasting effects, make sure you use products that are made just for fixing foundations.
3. Prepare the Area
When fixing foundation cracks, getting ready is very important. First, clean the crack really well. Get rid of any loose dirt, rubble, or old sealant with a wire brush. In order for the patching material to stick well, the surface must be clean. Make sure the crack is dry after cleaning it and before you put any seals on it. If there is water in the crack, let it dry out all the way. If the crack is pretty big, you might need to use a hammer and chisel to make it a little wider so that the repair material has enough room to fit.
4. Apply the Repair Material
Once the crack is cleaned and dry, it’s time to apply your repair material. For small cracks, use a caulk or polyurethane foam that expands when applied, creating a tight seal. For larger cracks, epoxy injections are ideal, as they provide a stronger, more durable fix. Apply the compound using a trowel or injection kit, pressing the material deep into the crack to ensure that the entire gap is filled.
For larger structural issues, such as uneven floors or a sinking foundation, the repair process becomes more complex. You may need to use foam injection or jacking techniques to lift and stabilize the foundation. These methods often require specialized equipment and may be better suited to professionals.
5. Smooth the Surface
Once the patching material is applied, use a trowel to smooth the surface of the repair. This will help ensure that the patch blends seamlessly with the rest of the foundation. For epoxy or other hard-setting compounds, follow the manufacturer’s instructions on curing time before proceeding with any additional steps.
6. Allow for Curing Time
After applying the repair material, it is essential to allow it to cure properly. Curing times vary depending on the type of product used, but most repairs require at least 24 to 48 hours to fully set. During this time, avoid placing any heavy weight on the foundation or disturbing the repaired area. This step is critical to ensure that the repair lasts and does not crack again.
7. Check for Further Issues
After the repair has set, inspect the foundation again. Ensure that the crack has been fully sealed and that no new cracks have formed. If you notice any further issues, it may be a sign that the repair was insufficient, or there could be a larger structural problem at play. In these cases, it is recommended to consult a foundation expert to ensure the long-term stability of your home.
Conclusion
By following these steps, homeowners can fix minor foundation problems themselves and prevent further damage. While DIY repairs can be effective, it’s important to be realistic about the severity of the issue. Some foundation problems require professional help, but this how to fix foundation problems yourself: step-by-step guide provides a solid starting point for minor repairs. You can make sure your home is safe and stable without spending a lot of money if you have the right tools, are patient, and pay close attention to the little things.


